In the world of automotive diagnostics, having the right software can make all the difference. Autocom 2021.11 is a powerful tool that allows mechanics and DIY enthusiasts to diagnose vehicle issues effectively. In this guide, we’ll walk you through the steps to install and activate Autocom 2021.11 on your Windows computer for free.
Why Choose Autocom?
Autocom is renowned for its user-friendly interface and comprehensive diagnostic capabilities. Whether you’re troubleshooting engine problems, checking battery health, or assessing brake systems, Autocom provides the tools you need to get the job done. For more information on the benefits of using Autocom, check out this article.
Step 1: Disable Real-Time Protection in Windows
Before installing any software, it’s essential to ensure that your system is ready. Disabling real-time protection can prevent installation issues.
- Open Windows Security:
- Click on the Start menu and select Settings.
- Go to Update & Security.
- Select Windows Security from the left menu.
- Disable Real-Time Protection:
- Click on Virus & threat protection.
- Under Virus & threat protection settings, click Manage settings.
- Toggle off the switch under Real-time protection.
Step 2: Download and Install AutoCom 2021.11
- Download Software:
- Download the AutoCom 2021.11 software from the provided link on our website.
- Unzip the downloaded files to a convenient location on your computer.
- Install Software:
- Run the installation file.
- When prompted, enter the installation password: NewSoftware2021.
- Follow the on-screen instructions to complete the installation.
Step 3: Activate AutoCom
- Unzip Keygen using the password: obd4com.
- Generate Activation Code:
- Open the AutoCom 2021 software.Open the Keygen application.Copy (Ctrl+C) your system ID into the Keygen (Ctrl+V).Click the Generate activation code button.
- Activate Software:
- Copy the generated key (Ctrl+C) and paste it (Ctrl+V) into the activation window of AutoCom.
- Click Activate.

Step 4: Add to Windows Security Exclusion
To ensure smooth operation, add the Autocom folder to Windows Security exclusions:
- Press Win + I to open the Settings menu.
- Navigate to Update & Security > Windows Security.
- Click on Open Windows Security.
- In the Windows Security window, select Virus & Threat Protection.
- Under Virus & Threat Protection Settings, click on Manage Settings.
- Scroll to the bottom and choose Add or remove exclusions.
- Select Add exclusion > Folder and choose C:\Program Files (x86)\Autocom 2021.
Conclusion
By following these steps, you will successfully install and activate AutoCom 2021.11, unlocking a powerful tool for vehicle diagnostics. If you encounter any issues during the process, ensure that you have disabled real-time protection and are using the correct passwords for unzipping and installation.
For more tips on automotive diagnostics and software, check out our blog for the latest updates and guides. With the right tools and knowledge, you can tackle any car problem with confidence!
Recommended Diagnostic Tools for Use with Autocom Software
To enhance your vehicle diagnostics experience with Autocom 2021.11, consider using the following multi-brand diagnostic tools:
- MultiDiag Pro V3.0: This versatile tool supports a wide range of vehicle brands and offers comprehensive diagnostic capabilities. Learn more about it here.
- Autocom CDP: Known for its reliability and extensive vehicle coverage, the Autocom CDP is an excellent choice for both professionals and DIY enthusiasts. Check it out here.
- Delphi DS150E: This diagnostic tool provides advanced features and supports numerous vehicle makes and models, making it a valuable addition to your toolkit. Discover more about the Delphi DS150E here.
By integrating these diagnostic tools with Autocom software, you can ensure a thorough and efficient diagnostic process for any vehicle issue.
Share on your social media!
Best-selling products
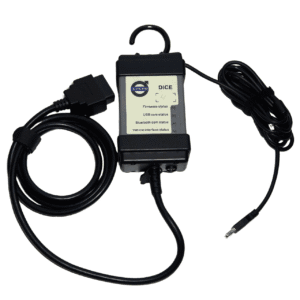
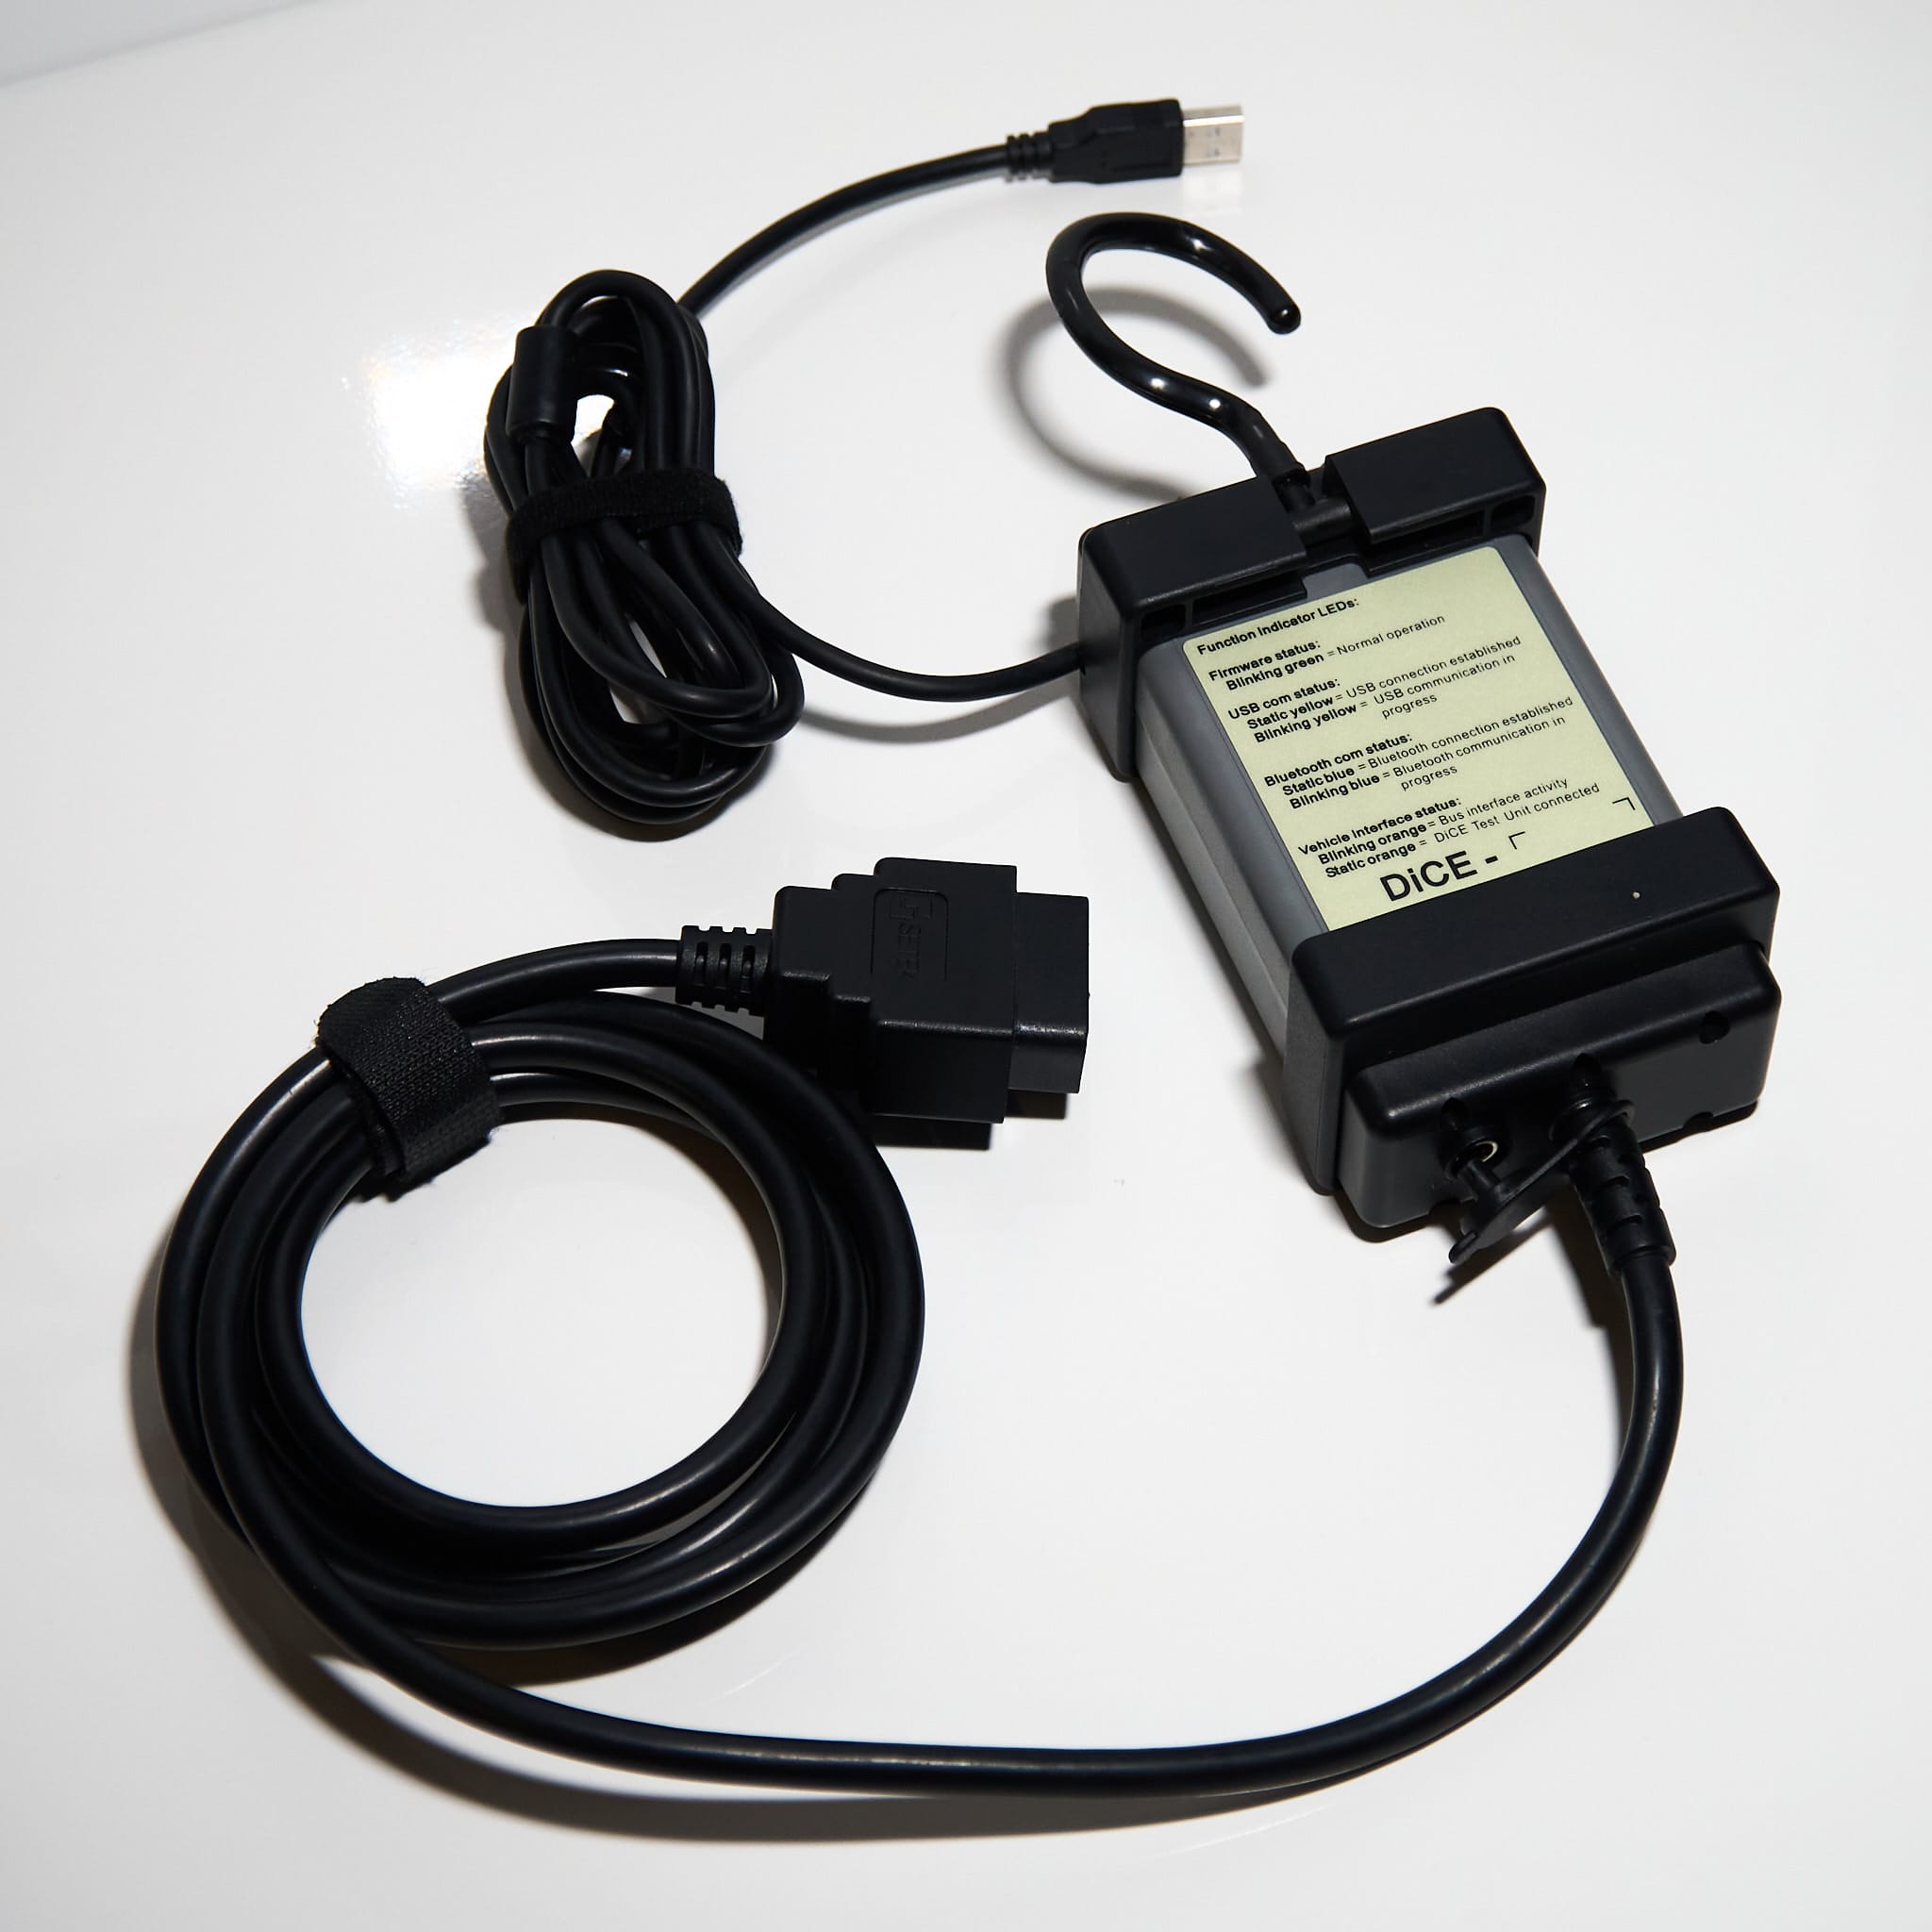
Professional Volvo DICE with J2534 or Full Chipset M32c
128,90 € – 237,90 €